Fall Fine Motor Centers for Preschool and Kindergarten - FREE Printables
This page contains affiliate links. Read Full Disclosure
I am so excited to finally have these adorable kits ready to share with you!
In preschool, pre-k and kindergarten, we are working on so many fine motor skills with these printable activities.
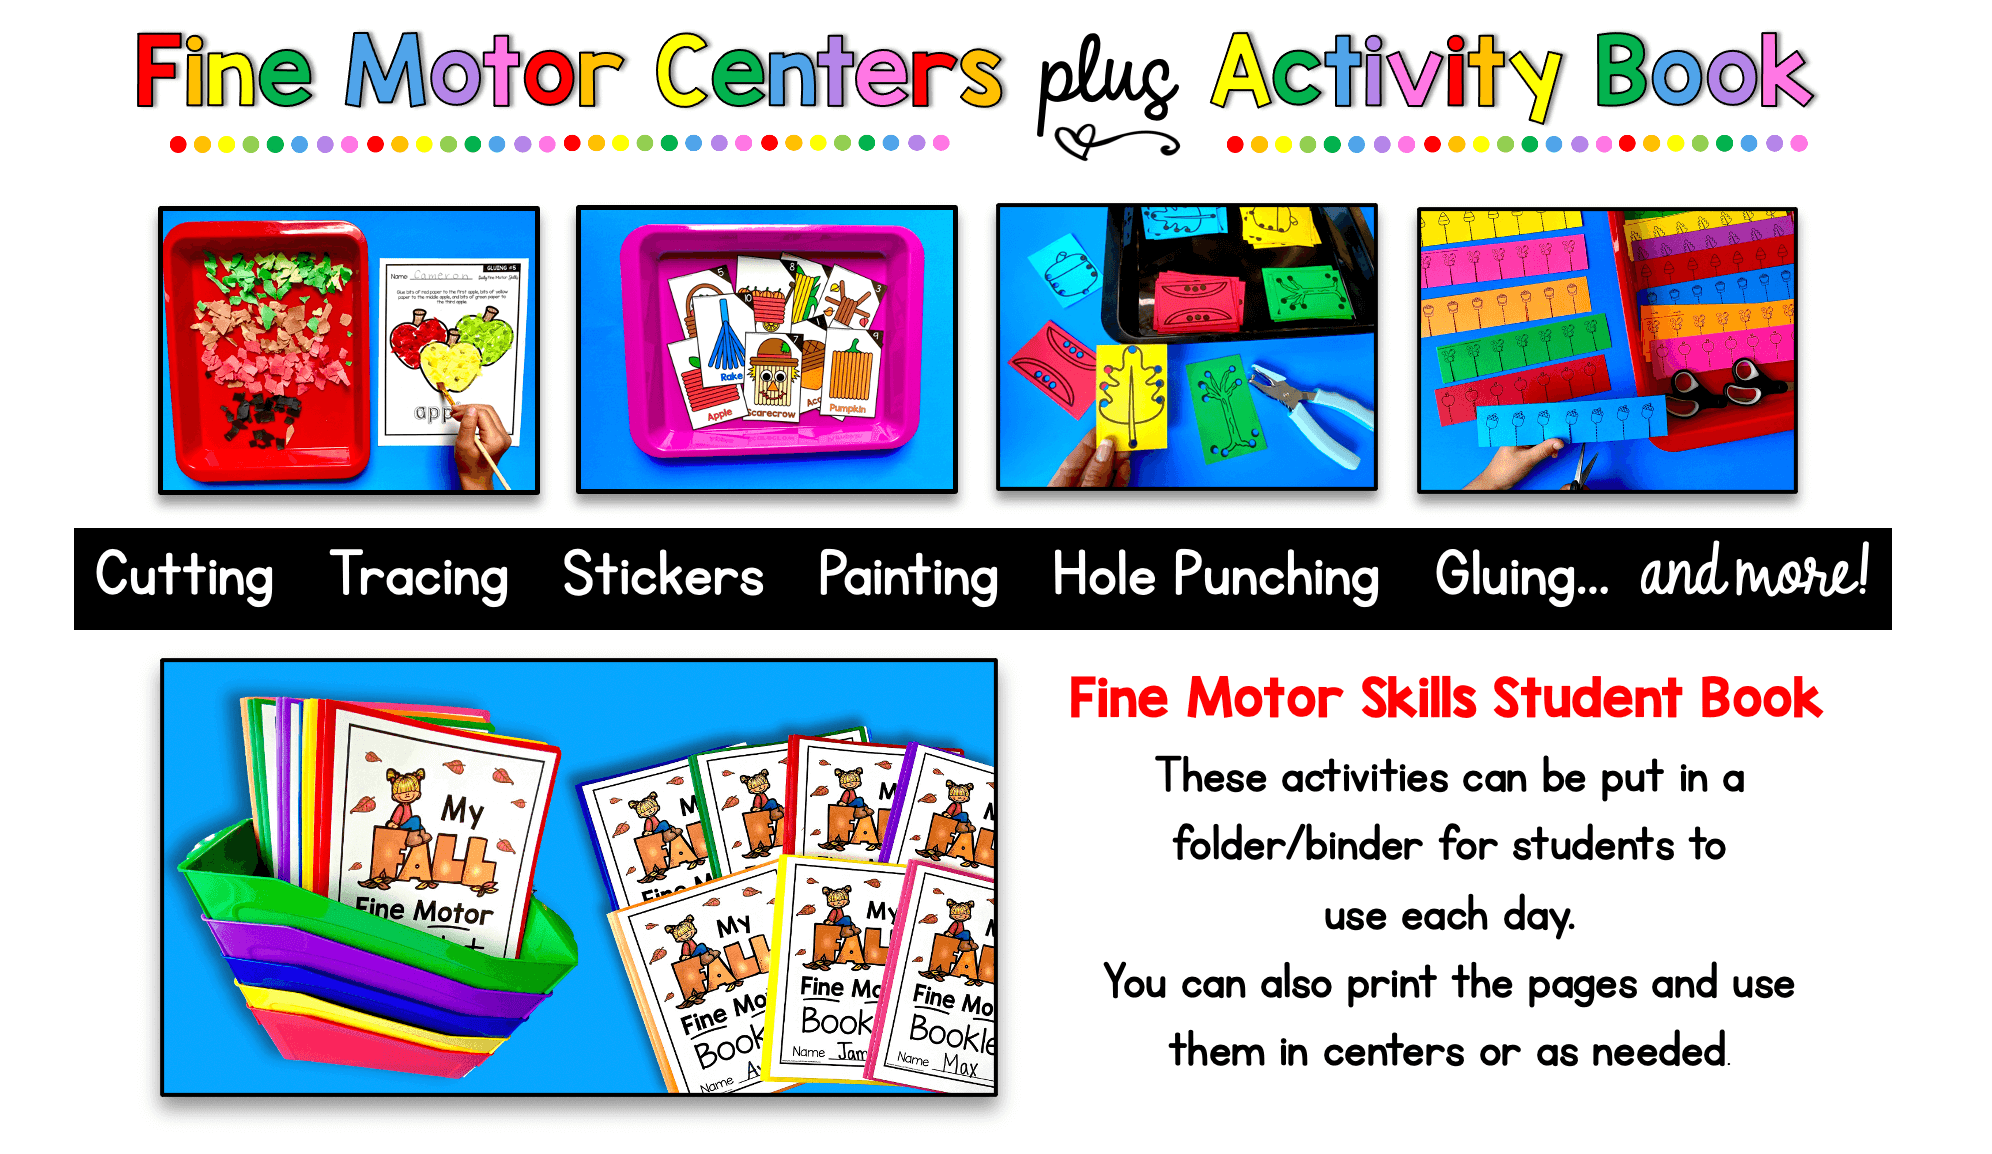
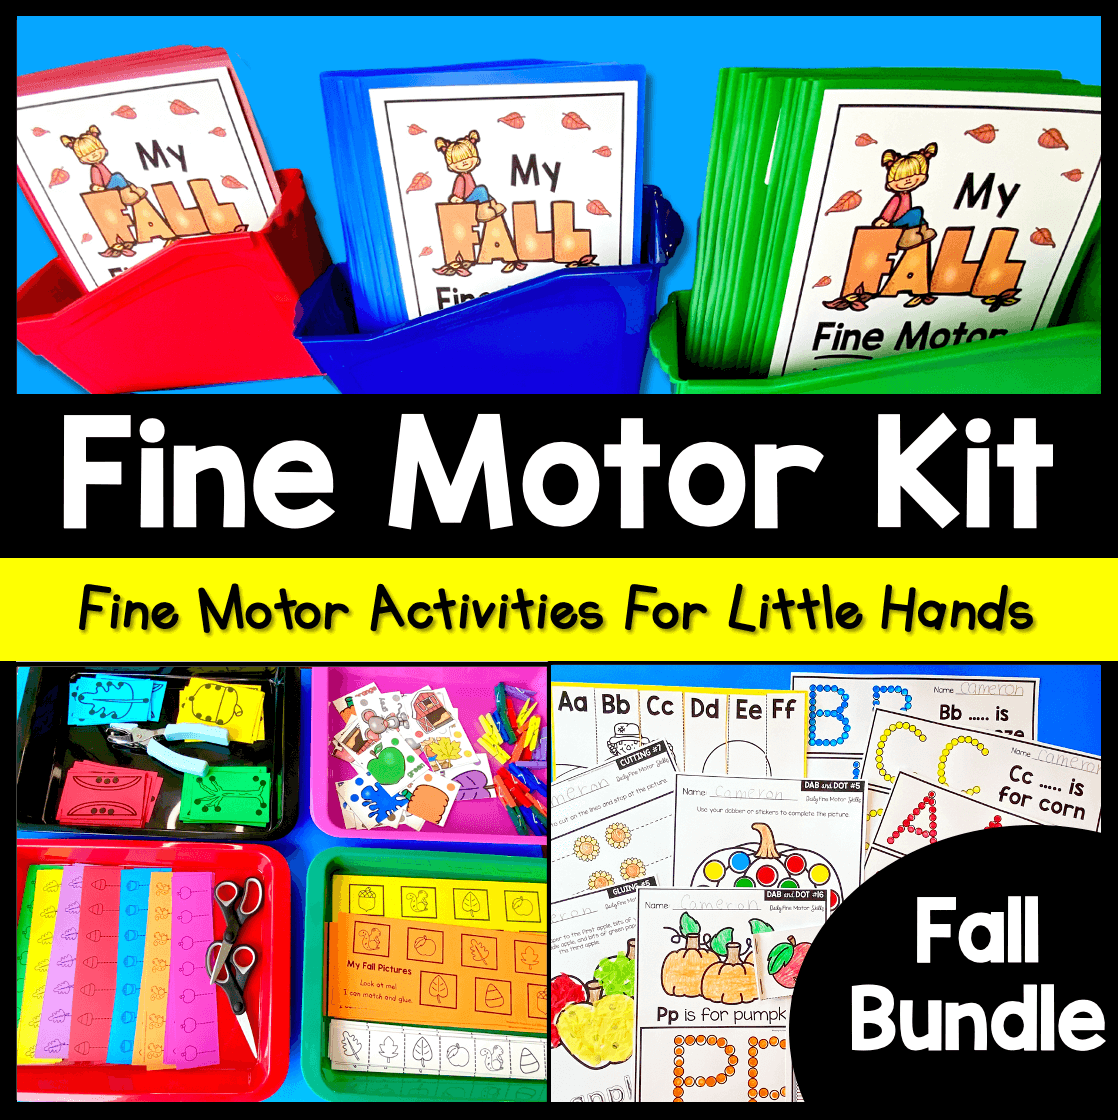
This fall fine motor kit comes with both an activity book plus hands-on centers… the possibilities are endless.
Plus, I am sharing FREE printable activities on this blog post so you can see how much fun these kits are!
HOW TO USE THESE FINE MOTOR ACTIVITY KITS
The great news is that you probably already have most of these supplies!
What do you need?
Scissors
Glue sticks and/or bottle glue
Q-tips
Circle stickers and/or bingo daubers
To organize and prep these activities, you’ll also need plastic trays or bins.
I use THESE trays absolutely love the quality and colors. Add them to your Amazon class wishlist!
I also use plastic 3-pronged folders ($0.50 ea) to make fine motor activity books for each child.
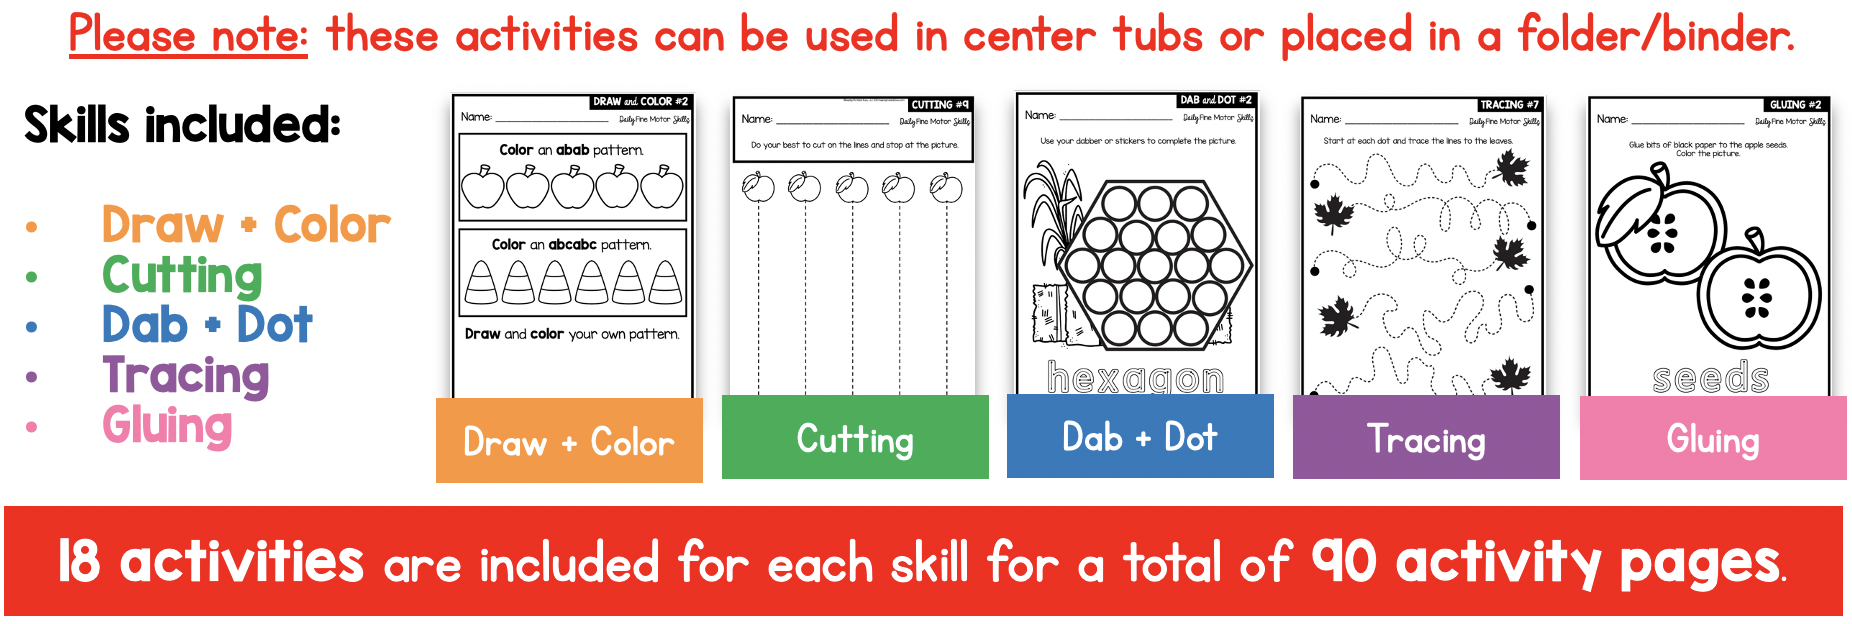
This fall themed bundle comes with 197 pages of printable activities.
There are SO many ways to use them.
I prefer to put the printables along with the simple supplies they need in a tray.
I can then place a tray each table group and that’s it!
Trays can also be placed in centers around the classroom or on a shelf where students can go choose an activity.
These fall themed centers and activities practice so many important skills and are so easy to setup.
STUDENT FINE MOTOR ACTIVITY BOOK
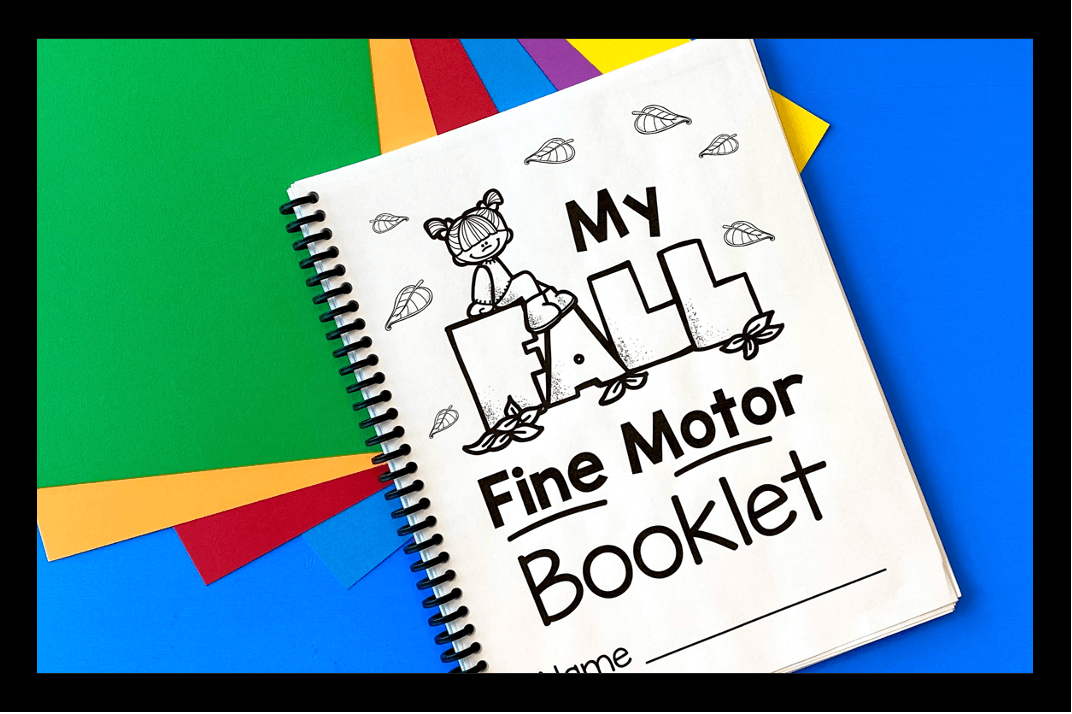
Along with the centers shown above, these activity books are zero prep for you and students can practice their fine motor skills throughout the fall.
Simply print the 90 activity pages, hole punch and place in a 3-pronged folder or binder.
I really like using color coordinating folders, magazine bins and plastic trays.
With the links above, please note that the magazine bins come in a set of 12, and the trays are in a set of 8.
Also, with back to school sales, the plastic folders are only $.50 at most stores, so look there first!
This makes it so easy for both me and students to stay organized.
Each group of students has a color.
You can put activities just for the week in their folders, and add activities to their folders throughout the fall.
So many of these printables work on their pincer grasp… picking up small objects with their thumb and forefinger (or middle finger).
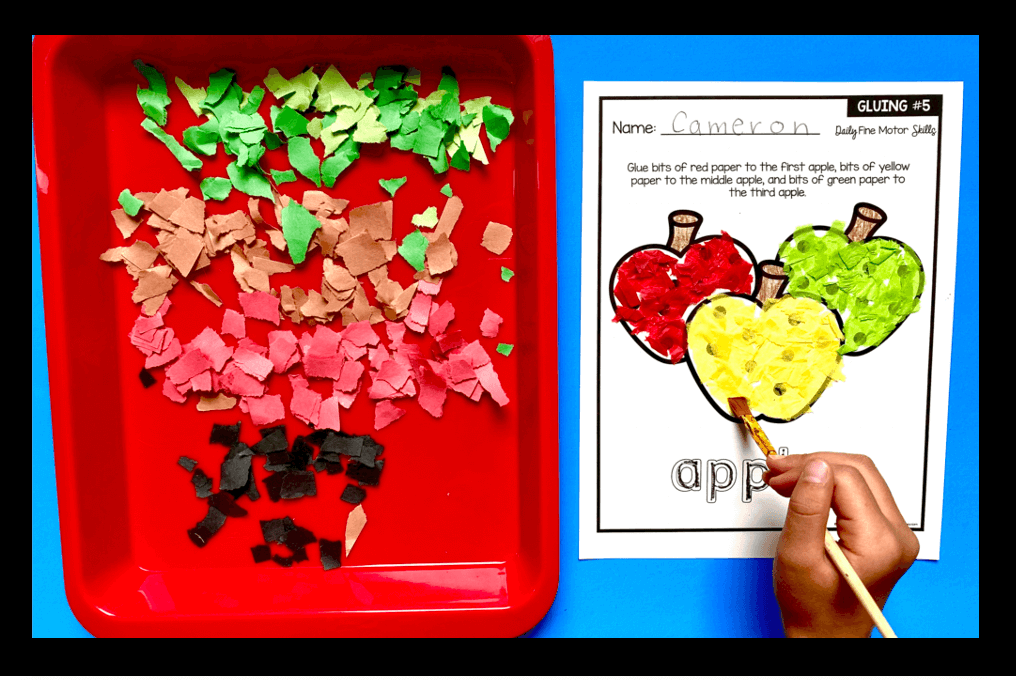
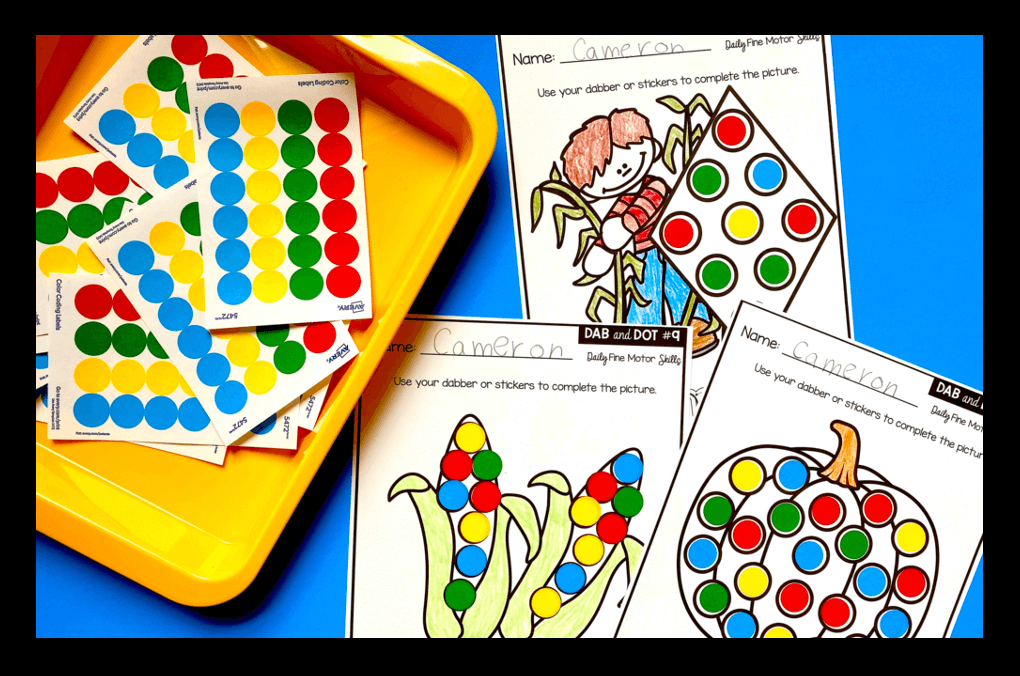
We love to use circle stickers on the dab + dot pages (see the pumpkin below) and using small bits of paper and tissue paper for the gluing activity helpers with their pincer grasp so much!
I also love using my pro click binding system too.
It is a bit on the spendy side, but I use mine all the time so it is worth it to me.
Preschool, pre-k and kindergarten students cannot remember what page they left off on.
Using sticky tabs helps them find the page they need very quickly if you decide to put the activity printables in a three prong folder or spiral.
Pincer Grasp + Fine Motor Tips
Now more than ever, children are starting preschool, pre-k and kindergarten lacking fine motor skills.
You will see so much improvement using these daily printables and hands-on activities.
Plus, the pattern blocks, popsicle sticks, and pom poms also work on this!
The correlation between these fine motor skills and pencil grasp is strong.
Children go through distinct stages with how they hold a crayon/pencil as they grow.
It is 100% normal for young children to “struggle” with holding a pencil correctly with the normal tri-finger grasp… this requires a lot of practice for many kiddos!
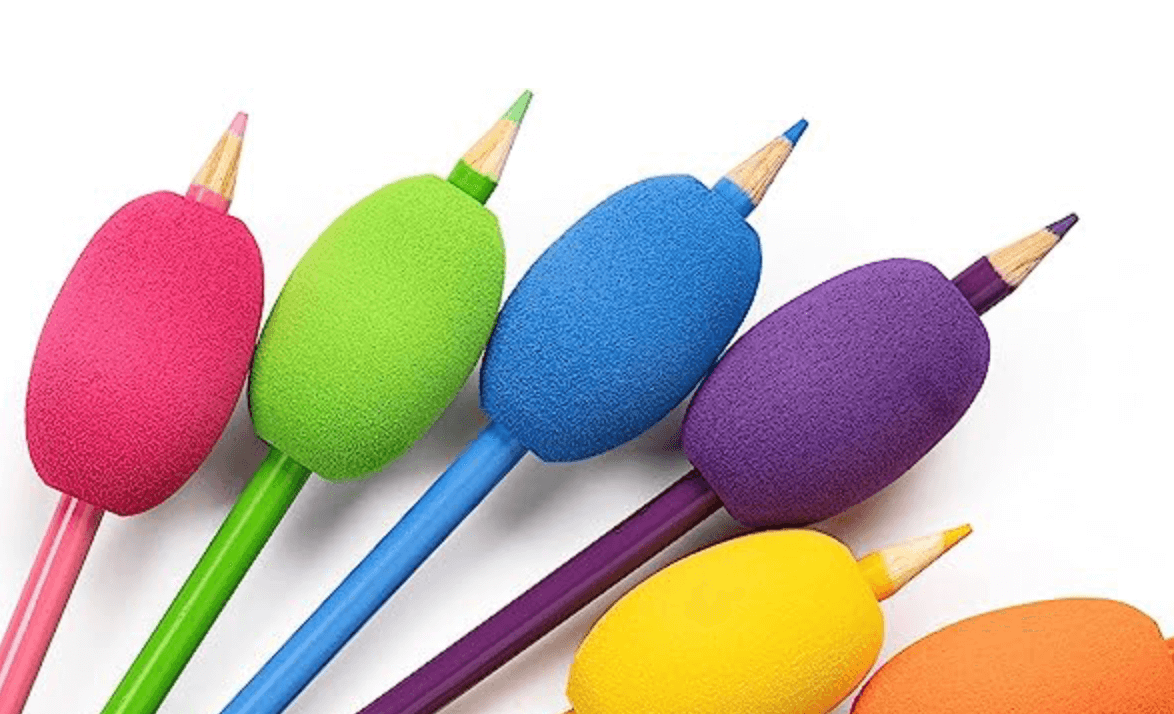
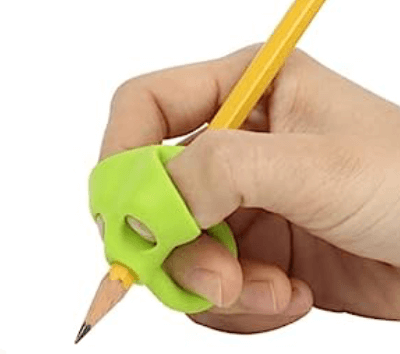
Three helpful items I use for children learning how to hold a pencil correctly are:
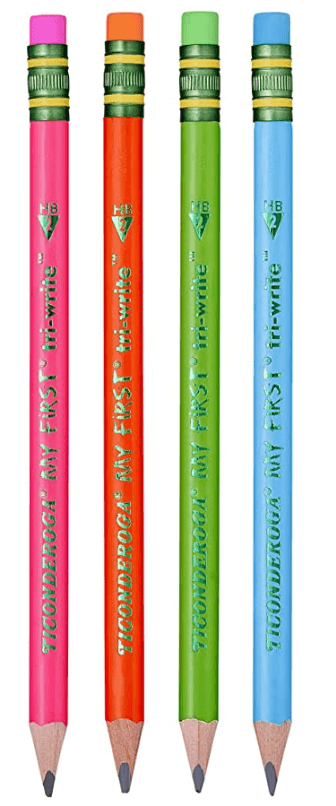
THESE chunky pencils (Ticonderoga brand has the best pencils)
THESE foam pencil grips and
THESE posture correction finger grips
I have found every child likes to use a different kind of pencil grip, so you may need to try a few to find the best fit for each kiddo.
Watch this quick video to get an idea of how I use these fine motor activities.
Your centers will be so fun, engaging and low prep for you!
Every 3-6 year I know needs practice with these fine motor skills.
Ready to get started practicing fine motor skills?
I have two options to purchase these kits:
These free printables are a preview from my fall bundle linked above!
TIPS and IDEAS: Setting up each CENTER plus SUPPLIES + PREP WORK
DIRECTIONS:
I love this fine motor activity!
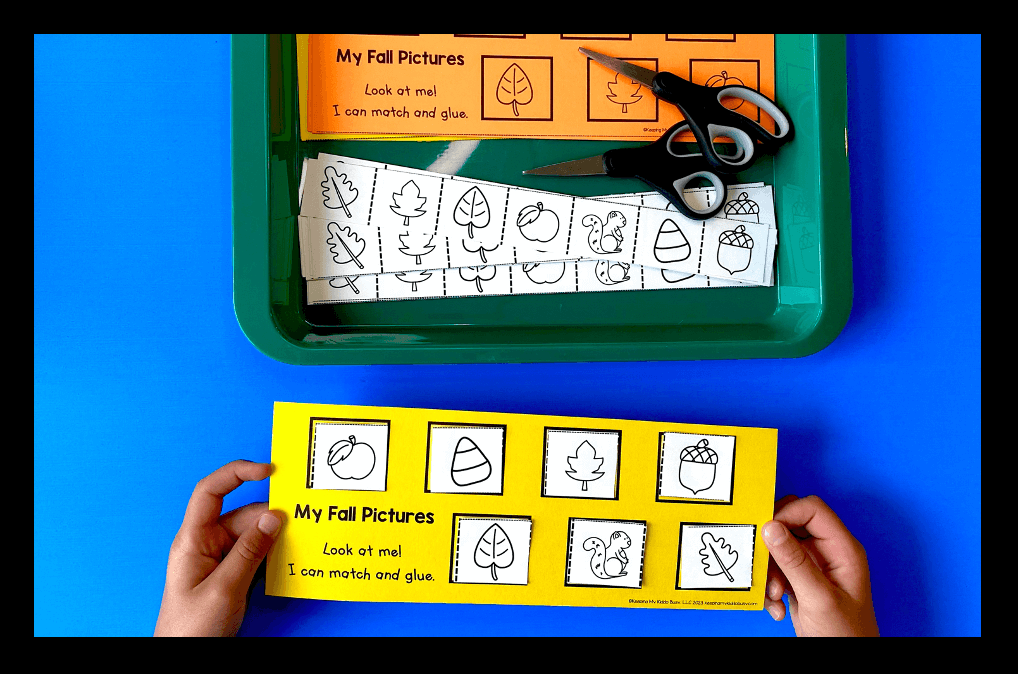
Students are working on so many skills including cutting, matching pictures and gluing.
This is perfect for the beginning of the school year because children only have to make short cuts on the strip of paper.
After cutting their fall pictures apart, they match and glue the pictures to the color picture mats.
BONUS: I include two different picture mats.
TEACHER PREP:
Copy picture strips on white paper and cut them apart.
Copy the two versions of the picture mats on two different color papers. This allows students to do this activity twice!
Two print per page, so cut them apart.
Place picture strips, matching mats, glue sticks and scissors in a bin and you’re set!
Optional: add crayons so students can color the pictures.
DIRECTIONS:
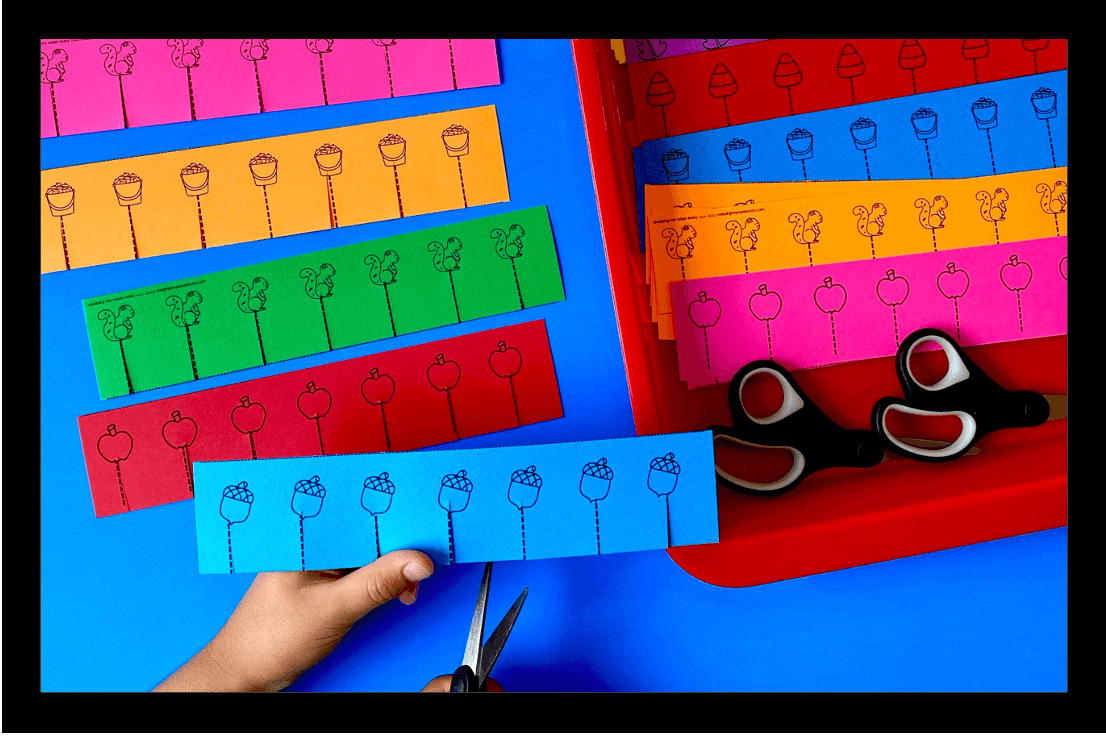
This activity is simple but very helpful!
Students select strips of paper and make small cuts up to the fall pictures. This helps with scissor control.
They love all the different colors and pictures.
This keeps them happily engaged for quite awhile with all the different colors/picture selections.
TEACHER PREP:
Copy the activity page on different colors of paper.
Cut the strips apart for students.
Place the strips of paper and scissors in a basket.
That’s it… easy and fun!
DIRECTIONS:
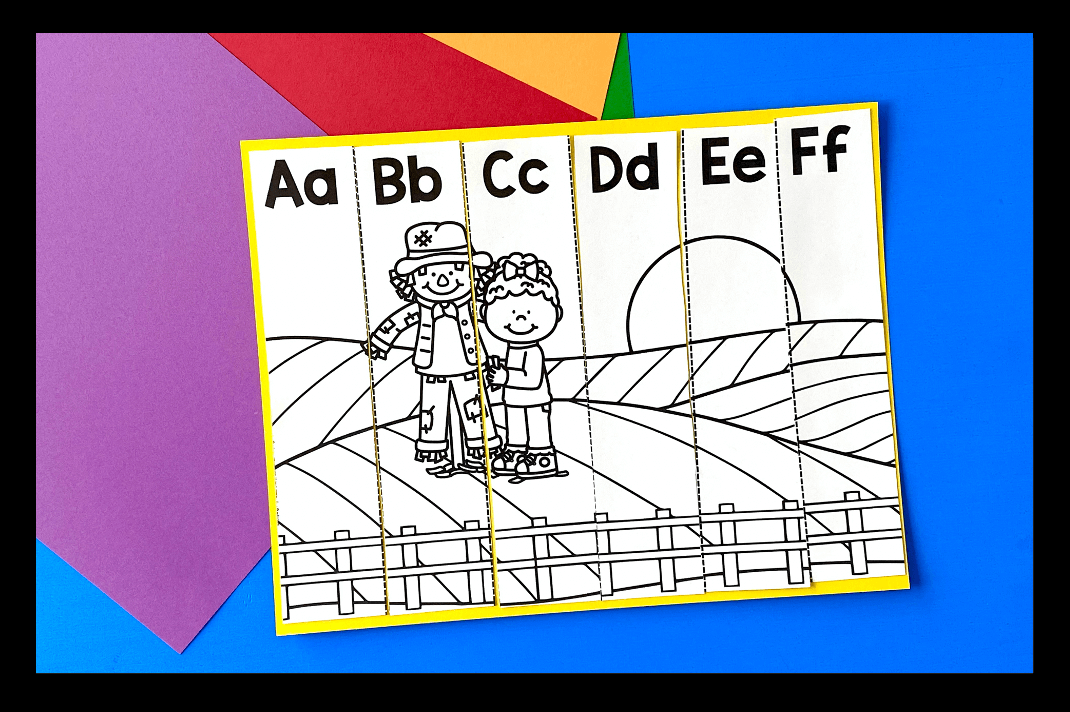
Students can color, cut the puzzles apart and glue them back together on construction paper.
Once they complete this, they can practice putting the color puzzles together.
TEACHER PREP:
Make copies of the black/white puzzles.
Place the puzzles, color construction paper, glue sticks and scissors in the basket.
Optional: laminate the color puzzles and students can put these together once they finish their own puzzle.
CUTTING PRACTICE IN THE FINE MOTOR ACTIVITY BOOK
DIRECTIONS:
Students can match the color popsicle sticks to the pattern cards or build the pictures on their own looking at the cards.
After building the shapes, students can use crayons to color the recording sheet to match the popsicle sticks they used to build each picture.
TEACHER PREP:
Print the picture cards on white card stock.
Laminate for durability.
Make copies of the coloring recording page.
Place picture cards, coloring sheets and popsicle sticks in a tray for students to create, color and problem solve!
Please note: for this activity, be sure to check your printer settings.
If you want students to match the popsicle sticks on top of the pictures and have them fit exactly, be sure to print your pages at 100% in your settings.
Every printer is different, so print one test picture before print the entire set.
DIRECTIONS:
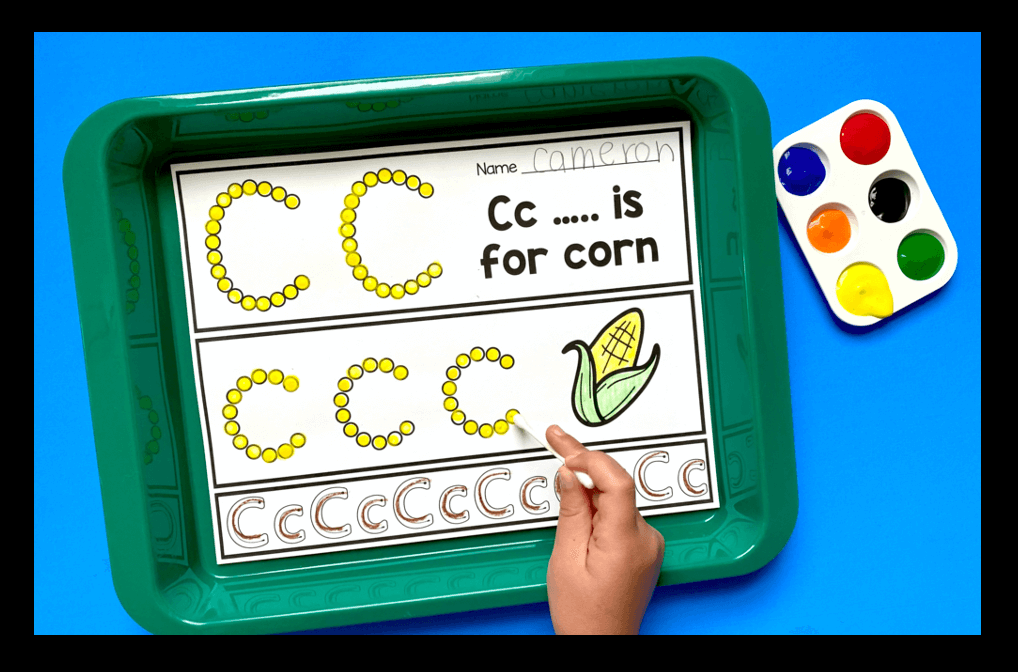
Children use q-tips to paint the dots on each letter.
Remind students to start by painting the CAPITAL letter first so they do not smear the paint.
Then, they can color the picture and use crayons or a pencil to trace the letter below with correct directionality.
TEACHER PREP:
Make copies of the letter worksheets.
Place paint trays, q-tips, paper towel/napkins and crayons in the tray.
When they are ready to get started, I come by and pour paint into the trays.
I have two children share a paint tray.
I instruct children to take 6 q-tips and a napkin (for them to set their wet q-tips on).
DIRECTIONS:
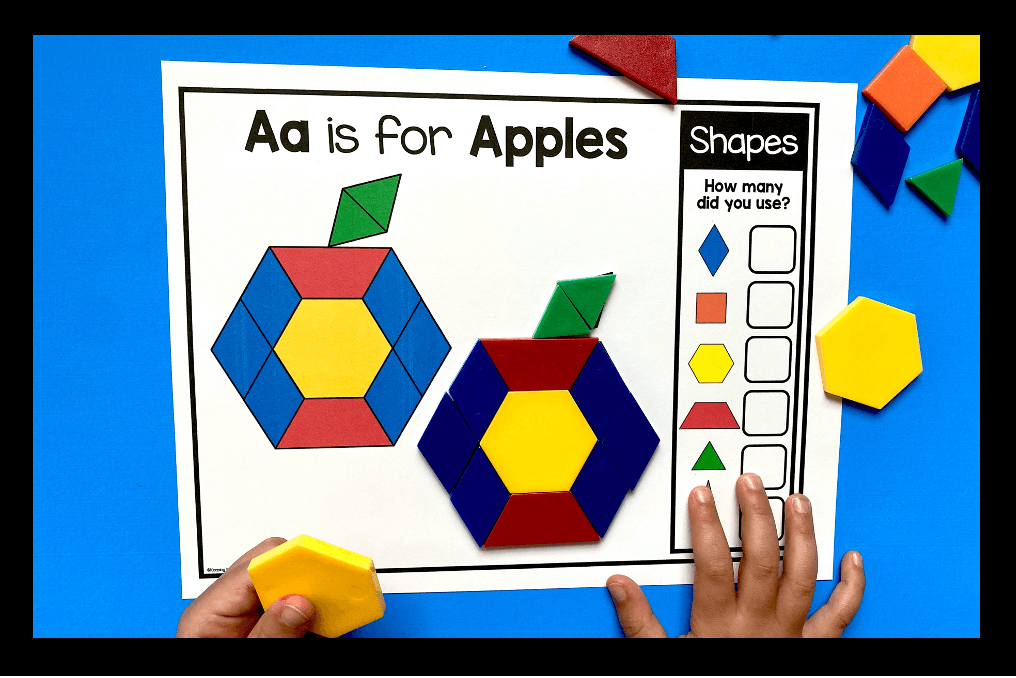
Students match the pattern blocks to build fall pictures.
Optional: write how many of each shape they used to build the picture.
TEACHER PREP:
Print the pictures on card stock and laminate for durability.
Place the pictures and pattern blocks in a tray and you’re set!
Optional: if you put dry/erase markers in the tray, students can write how many shapes they used to build each picture.
Optional: I use my pro click to bind pattern block books together. If you do this, I would make multiple books so more than one student can use the center at a time.
Although it is more work to bind the mats into books, it prevents laminated picture mats from ending up on the floor, lost, etc.
Please note: for this activity, be sure to check your printer settings.
If you want students to match the shapes on top of the pictures and have them fit exactly, be sure to print your pages at 100% in your settings.
Every printer is different, so print one test picture before print the entire set.
DIRECTIONS:
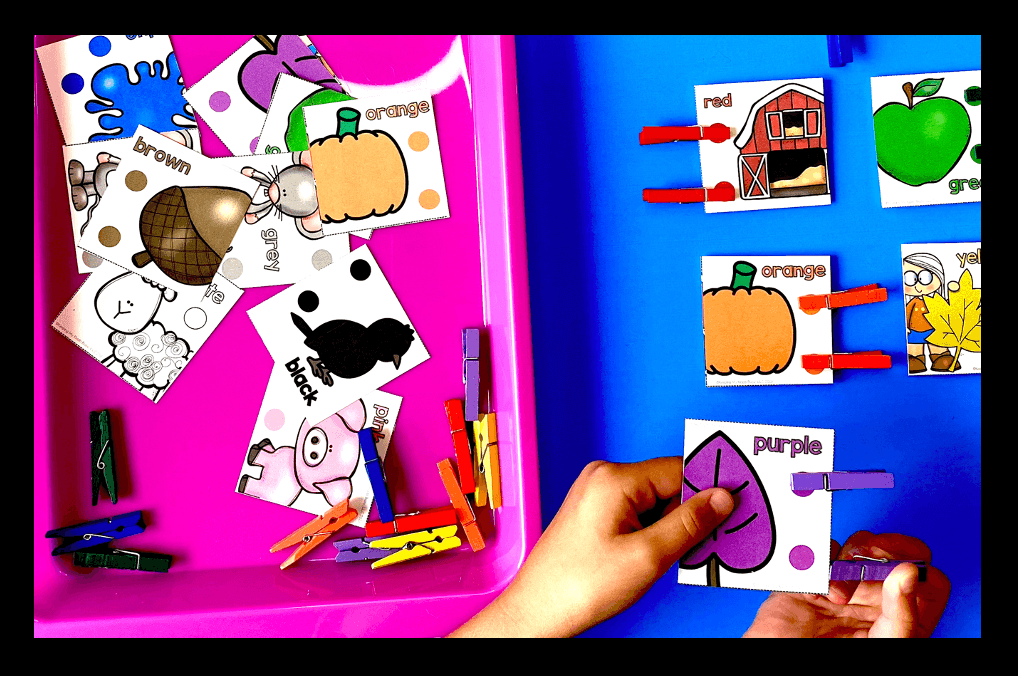
Children clip mini clothespins to the correct color card.
I encourage students to practice 1:1 correspondence and put the clip on the color dot.
TEACHER PREP:
Print the color cards, laminate and cut them apart.
You can print multiple sets if more than one child will be using this center at a time.
Place color cards and clothespins in a tray and you’re set!
Please note: I linked the clothespins I use above. However, my set did not come with black, grey or white. Since so many clips come in a set, I just painted a few those colors.
You can also use regular wood clothespins and color the ends with sharpies/markers.
DIRECTIONS:
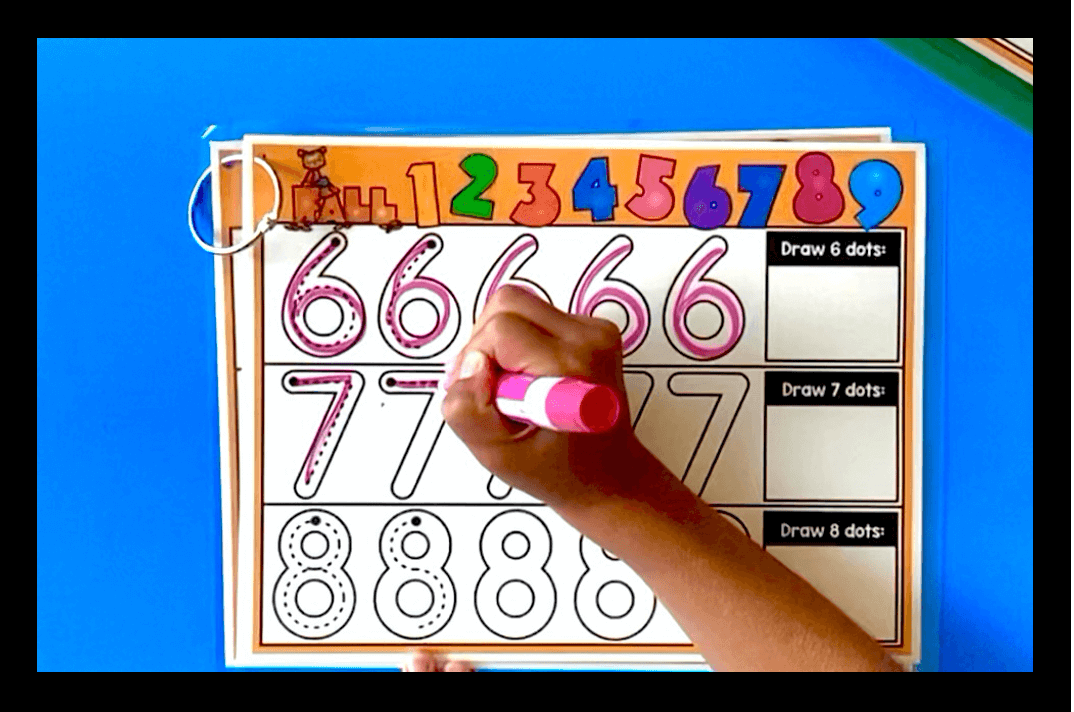
Students trace the numbers with correct directionality.
They draw the correct number of dots in the box. to practice 1:1 correspondence and counting.
TEACHER PREP:
Print the number mats on card stock front to back.
Laminate the color version for durability and so students can use a dry erase marker.
I use a binder ring to keep the color mats together.
Place the color mats and dry erase marker in tray… and that is it!
If you use the black/white version, just place the copies in a tray with pencils or chunky markers.
Idea: kiddos LOVE to use THESE markers to make this center special if you’re using the black/white version.
DIRECTIONS:
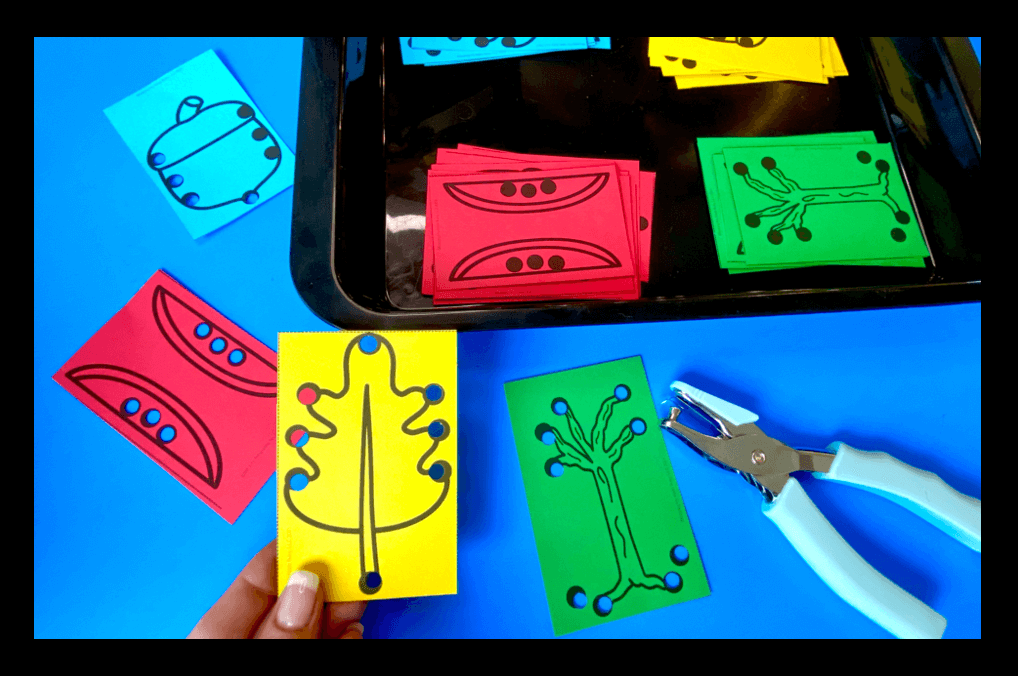
Students hole punch the different fall pictures on the black dots.
TEACHER PREP:
Make copies of the hole punch printables on different color paper.
Cut the pictures apart and place the fall pictures and hole punchers in a tray.
Tip: THIS is the best hole puncher I have found for little hands.
These make it so much easier for small children to punch holes.
DIRECTIONS:
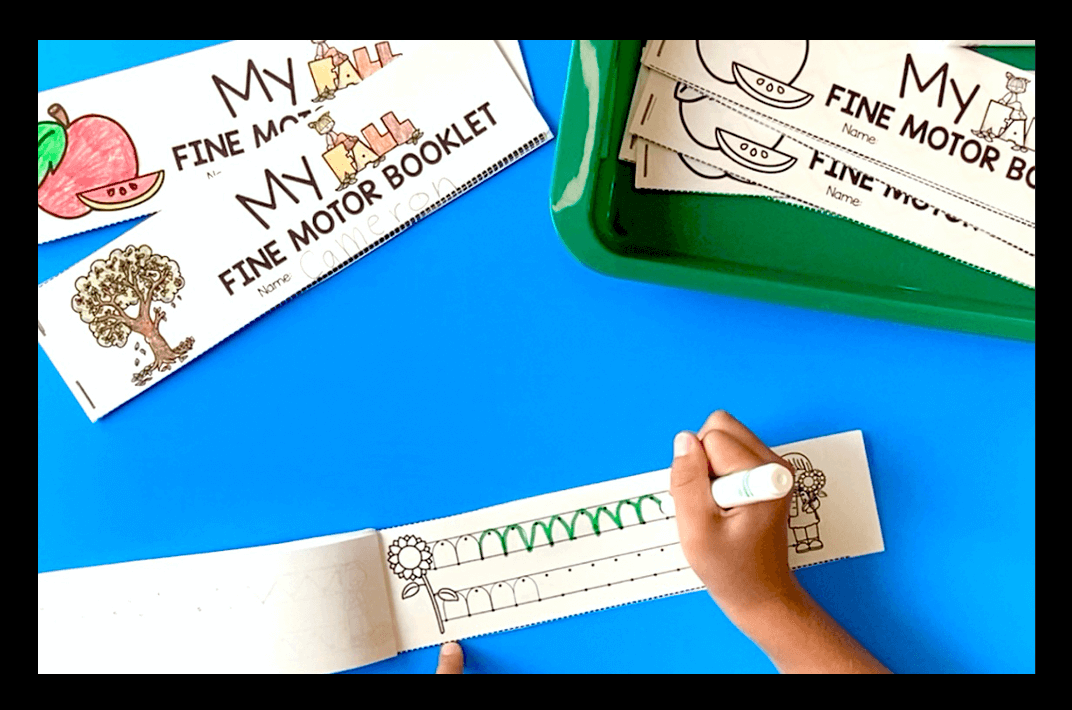
Students can make two different fine motor mini books.
In the first one, I suggest using chunky markers or special scented markers for little hands. They can stay between the lines easier, and this one is less frustrating for young children.
For those students who are ready, give them the tracing lines/connect dots mini book and use thin markers.
…or put both in the tray and let them choose!
TEACHER PREP:
Print and make copies of the mini books.
Cut and staple them together.
Each mini books takes two sheets of paper.
Place mini books and either pencils, markers or crayons in a tray.
Why do I suggest markers? Markers show up better so students can really see the lines they are drawing. Crayons do not make as crisp of a line for tracing and drawing lines. Markers make this activity more engaging for students rather than using pencils.
DIRECTIONS:
Students use color pom poms to create these fall themed pictures.
TEACHER PREP:
Print the pictures on white card stock and laminate for durability.
Optional: I use my pro click to bind color pom books together. If you do this, I would make multiple books so more than one student can use the center at a time.
Although it is more work to bind the mats into books, it prevents laminated pom pom mats from ending up on the floor, lost, etc.
DIRECTIONS:
Students use bingo daubers to make patterns on the fall picture strips.
They do not have to make patterns, they can also just make their own designs!
TEACHER PREP:
Make copies of the picture strips.
Cut the picture strips apart and place them in a tray with bingo daubers.
I just ordered THESE daubers… I’ll report back if they work well!
DIRECTIONS:
Students place stickers on the fall pictures.
They can color match, make patterns or just use any stickers to practice 1:1 correspondence.
TEACHER PREP:
Make copies of the fall picture strips.
I made the pictures sized to fit THESE stickers, but you can use any stickers you wish!
Optional: copy/print the picture strips on color paper that matches the stickers you’re using.
TEACHER PREP:
Print the geoboard picture cards on white card stock and laminate for durability.
Place the puzzles, rubber bands and geoboards in the basket.
Please note: I use the geoboards linked above, however the rubber bands that comes with them are too big for the picture puzzles (if they are making lines by connecting the pegs and not making shapes with the bands).
If they are connecting the pegs to create the pictures, you’ll want smaller bands if you use the geoboards linked above.
That is it… you’re all set for 3 months of fine motor activities!
You’ll have worksheets, crafts and centers for the entire fall with this one bundle.
Never again search for:
fall crafts
filler activities
centers
tracing worksheets
cutting or gluing practice
… and more!
SAVE WITH THE FOUR SEASON BUNDLE
