Dollars and Coins - Money Math for Kindergarten and First Grade
This page contains affiliate links. Read Full Disclosure
Teaching children about money is tricky. I actually steered clear of this topic for years because money wasn’t included in our kindergarten math standards. But in many districts, we are moving back towards teaching money in K-1.
As my own children got older, the topic of money came up, I realized WHY this is such a difficult subject to teach.
3/4 coins are silver and all look similar
Children must be able to skip count by 5, 10 and 25
Children must be able to mentally add with these numbers as well
Decimals can look scary
… and the list can continue!
These are the major roadblocks I encountered when explaining how to count money with my kiddos.
I finally came up with this unit to teach the basics and give young children a solid foundation with coins and dollars because I could’t find a curriculum I liked. Most programs go straight from identifying coins for 1-2 lessons to then adding coins and dollars together.
You’ll love how this unit teaches coin identification and facts through pictures, songs and activities.
Then, we only work with one coin at a time for awhile before skip counting the same coin to finally combining coins.
Only then do we move on to identifying single dollars before adding coins and dollars together.

I am sharing TWO FREE LESSONS at the bottom of this blog post so you can see how I teach about each coin.
Let’s get started!
I designed this unit so you can use it with 5-8 year olds, and you can use the scaffolding I provide or skip it if your students do not need it.
I also include extension activities for more advanced students so you can tailor your lessons to easily fit the skill level you need.

After I give the pretest, we dive right into coins! We start with quarters.

I include a link to a Google slideshow I created that has sing along songs. When I introduce each coin, I show the slide and we sing the song.
The kids can follow along with their printable song page.
I suggest having children stand while you sing the song and make up hand gestures to go with the words in bold (quarter, 4, dollar and 25¢.)
Singing and signing at the same time will cement the words in their memory!
After singing the song and coloring the keywords on their page, flip the paper over and we learn all about quarters!

This is how I introduce all four coins! Repeat and review the songs and posters as many times as you like.
Children love learning through singing and moving their bodies.


Both teachers and students love this routine of introducing and practicing each coin!
You can make a little money notebook/packet for each students so they can flip through and sing/review each coin.
Now that we know all four coins, we take a few lessons to review recognizing and sorting coins because they do look similar.
I have used both real coins and play coins to teach about money.
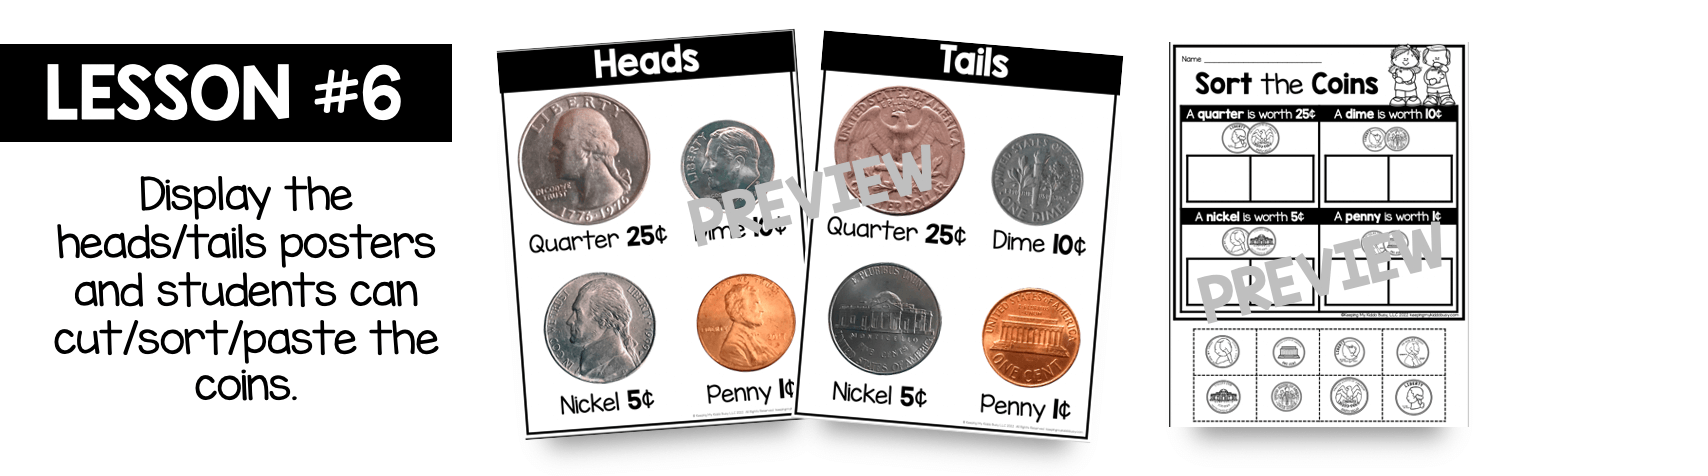
When teaching lesson 6, give each pair of students a cup with coins and have them take turns dumping coins out and sorting the heads from the tails.

Seeing and touching coins will help student learn to differentiate them much quicker than just doing worksheets!
After sorting coins with heads/tails, students can complete the sorting worksheet.

THIS is the kit we use and we love it!
It even comes with a checkbook and credit card for dramatic play.

I love this lesson because I can easily differentiate for my students who need more scaffolding.
Students can either sort the coins under the correct piggy bank on their own, of it they are not ready for this yet, I give them to matching sort. This will help build their confidence and you won’t have to help as much.
I do not want to move on to coin value or combining coins until I am sure they can recognize each of the four coins!


This is our last two lessons with identifying coins, and then we will be ready to move on to coin value.
The kids love counting the coins in the piggy bank. Use color or BW.
I do two piggy bank graphs together as a class and then the third one I use for an independent centers.
This could also be a great quiz to see if students can identify the coins.
Kids love this video!
I always use videos and songs as wiggle breaks.
Have students stand up and show on their fingers how much each coin is worth when they sing it.
After the video, we fill out our worksheet together and I sing the song, “How much is a penny?” and they respond “1¢!”

This is such a fun lesson! The kids are so excited to “go shopping” with either real coins or your play coins.
I laminate and cut the cards apart (or you could leave them together in a page format too). They must put the correct coin in each purse.
Each item costs exactly what a single coin is worth - 1¢, 5¢, 10¢ or 25¢.

After they “purchase” each item, they can fill out their recording page by finding the four items shown (carrot, broccoli, cereal and chicken) and write how much each item cost on the tag and draw the coin they used to purchase.
Note: later on in this unit we play this same game but with values where they add coins together to purchase an item (example: 27¢).

You pick the level/version your students are ready for!
Print the cards with only one coin, multiple of the same coin, or a variety of coins that they must add together. The rules stay the same, but students can play the version they are ready for.
I love differentiating so all of my students are practicing what they need!
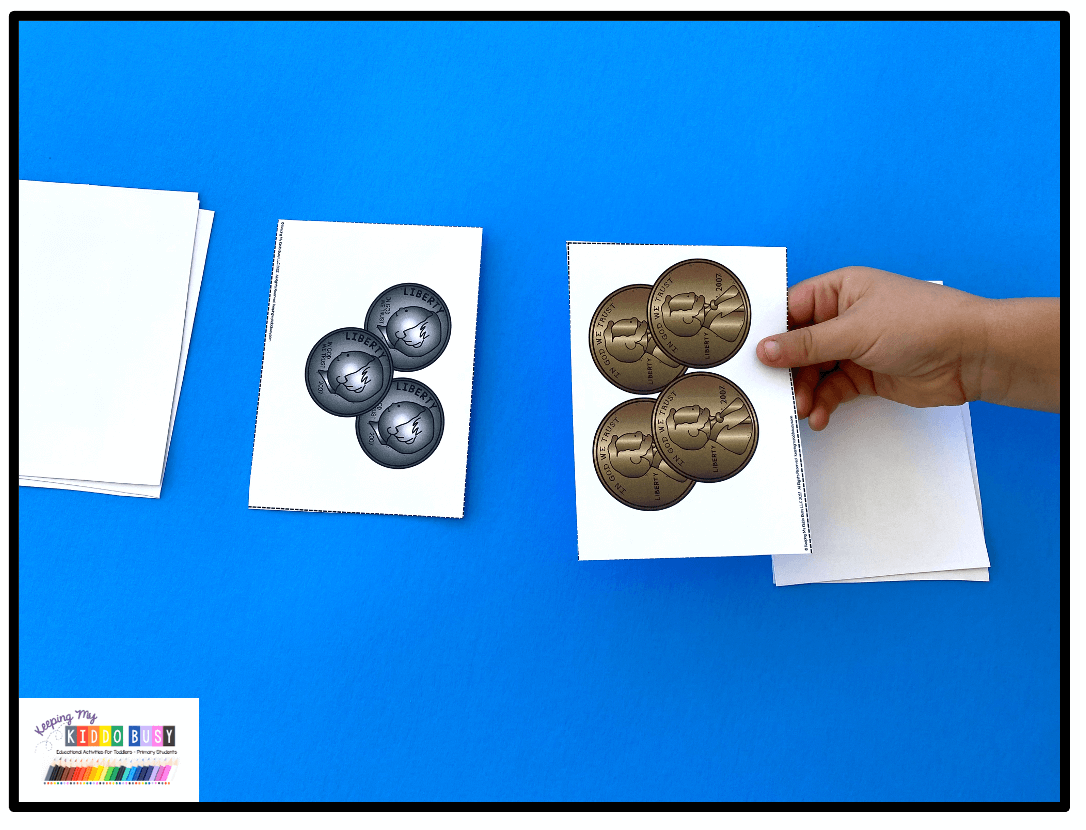
Students each flip a card over and the students with the higher value wins.
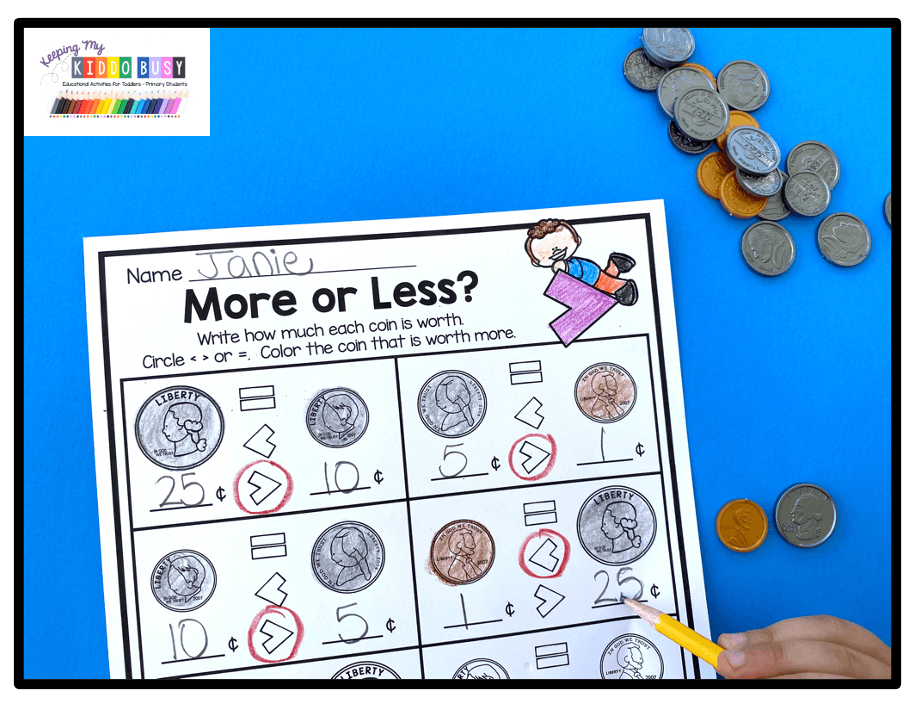
After we play, students can complete the follow up more than/less than worksheet.
We cover so much in these next few lessons!
Students can now identify each coin as well as its value, so now we will be practicing adding/skip counting with multiples of the same coin.
This can seem overwhelming, but if you follow these steps, I promise it is not.

If you use my digital morning meeting/calendars, then your kiddos are already skip counting pros.
I start by giving each student a money skip counting chart. This is a wonderful visual to show students how each coin skip counts in a different way.

Next, we look at one coin at a time and skip count using the cut/paste activity. Differentiated versions are included so students can either skip count on their own or match the values given. Down below, they write the numbers as they skip count.
To follow up, we complete the worksheet shown on the far right for each coin and students count and write.
Students feel confident after practicing skip counting with each coin this way! We are counting coins!

In lesson 19, we are counting the coins in the piggy bank (skip counting) and matching the amounts.
In lesson 20, we come back to coin wars and play the multiple coin version to practice our skip counting.
You’ll love playing this game multiple times throughout the unit… your students will beg for it!
I appreciate that I don’t have to give directions after the first time playing.
If students are struggling with this skip counting version, I have them bring their skip counting color chart we made previously in lesson 14 while they play.

This play money kit comes with dollars as well! Kids love learning about and discussing money.
For the next few lessons, we are learning about dollar bills, and students couldn’t be more engaged! It is really fun to teach when you have their attention 110%.

There are multiple activities including identifying and naming each bill, going shopping (exact bills only) and one more/one less.

We review more than/less than with dollar bills, and now it is time to play dollar wars!
Just like coin war, there are multiple versions, and I suggest starting with single bills for most of your students.
This way they are simply practicing identifying which bill is more than/less than.
Students absolutely love this game!
Print multiple sets of cards if you would like to have the game last longer. I formatted the cards rather large so students could easily see/compare the coins/dollars, but you could size down or print multiple sheets per page if you prefer smaller cards.
I love watching students laugh and have fun while practicing these important skills.
If you teach kindergarten, you can choose to end the unit here or continue if you like!
If you teach first grade, we are now moving on to adding different coins together.


Use the hundreds chart/skip counting paper we completed for assistance.
Two versions are included!
Skip counting and then adding, or adding two different coins.


Students absolutely loved this game the first time we played, but this time instead of shopping with single coins (25¢, 10¢, 5¢ and 1¢) they now must use multiple coins to purchase an item!
They already know how to play, so it is easy for them to simply focus on figuring out which coins to use.
Put students together in pairs to “shop” for even more fun and so they can help each other.
Don’t forget to send students with their coin counting charts for scaffolding.


This is another fun game to practice adding coins.
Play one or both versions with your students!
Hang the cards around the room, and they have to find the piggies and write the value in the correct box.
This is also a great check for understanding to see if they can count and add money.
BONUS ACTIVITIES ON GOOGLE SLIDES

Follow my lesson outlines, or use the activities in any order you wish!
You students will have so much fun while gaining a strong foundational understanding of coins and dollars.
Not sure if these lessons will work for you? TRY THESE FREEBIES!

CLICK HERE TO RETURN TO MY MATH HOMEPAGE
See how I teach numbers, counting, addition, subtraction and more!